


Glock 20/21 Frame dd20.1 Details
Are you looking for a new challenge in 3D printing? How about building your own custom Glock 20 or Glock 21?
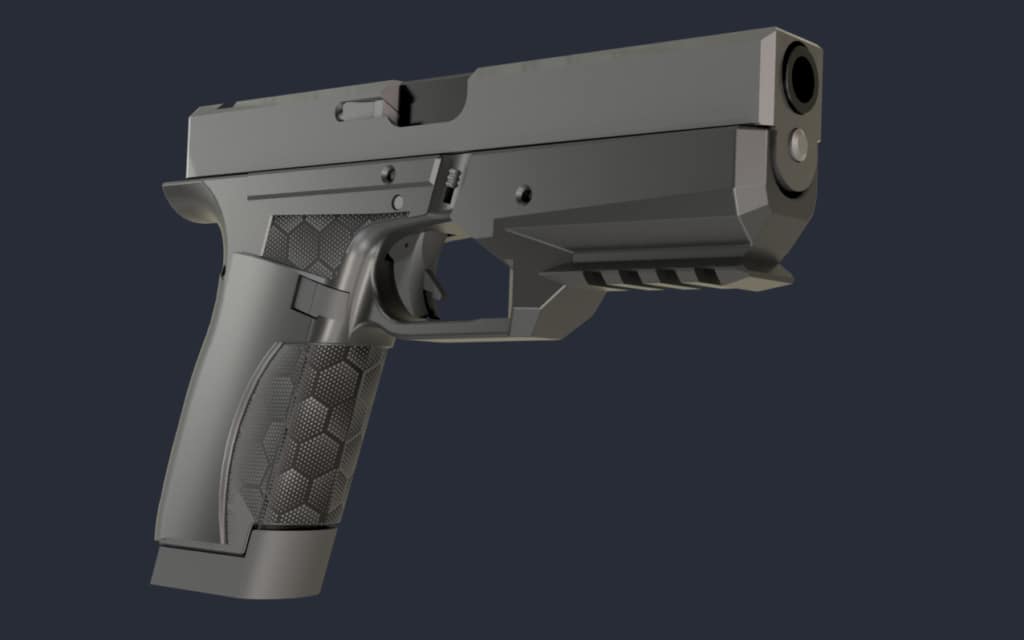
The dd20.1 is a 3D printed gun frame for two “big boy” Glock models that are popular among gun enthusiasts.
The G21/20 are known for their power and reliability, and building your own using 3D printing technology can be a fun and rewarding project.
The dd20.1 Glock 20 is the 3D printed 10mm variant often referred to as the “bear killer” for its stopping power and size.
P80 PF45 10mm / .45 FramesThis frame is also compatible with the Glock 21 .45 ACP variant is often admired for its use in two world wars.
Glock 20/21 dd20.1 in the Wild
Photos


Video
Glock 20/21 dd20.1 Tech Specs
Required Parts for the Glock 20/21 dd20.1
Prerequisites
- DD17.2 spec rails
- Full-size gen 3 locking block (same as DD17.2)
- Gen 5 Glock takedown lever spring (many pen springs will work, should be around 3mm x 10mm)
- Large frame Glock 21/20 lower parts kit (.45/10mm)
- Large caliber magazine of your choice
- G20/21 compatible upper
Materials Required
The dd20.1 requires basic gunsmithing tools and a 3D printing setup.
Using a dialed-in Ender 3 with widely available PLA+ filament will get the job done.
Tools Required
- Gunsmithing Punch Set
- 3D Printer
- Slicing software with a decent computer
- Drill bits for cleaning out holes.
- Hammer
- Flathead screwdriver
Suggested 3D Print dd20.1 Settings
The slicer settings for the 3D-printed Glock 20/21 are similar to the majority of setups for other 3D gun builds:
Nozzle: 0.4mm
Layer Height: 0.16mm
Temp: 220/60C
Infill: 100% (or 999 walls)
Supports: On/full (tree supports are ok) – use a close support interface gap. Your interface gap should not be larger than 0.16mm unless you know what you are doing with your setup.
Cooling fan: 20% normal, 50% on bridges. Off for the first 10 layers. Keep the fan low to prevent warp.
Bed Adhesion: gluestick or hairspray or both
Filament
- PLA+ (eSun, Polymerk or simular
- Optional: Zytel (Requires Zytel compatible 3D printer setup)